Vectorize Bitmap Graphics
Posted by Outfab Team on
Here's a situation we see happen from time to time:
You come up with a great idea and draw it out in Photoshop or Gimp.
You upload your design but then find out it doesn't work with our set up due to the vector/bitmap issues we talked about in the previous post.
But it blows your budget to have us fix it, plus you really want to figure it out yourself (trust us, we know how that is!)
The following instructions will show you how to turn a bitmap drawing into a vector graphic that is ready to laser-cut out of your choice of material at Outfab.com
Here are some quick terms to know:
Fill - the color assigned to the inside of a shape
Stroke - the color assigned to the outline of a shape
Vector Graphic - an image computed by the computer using mathematical terms
Bitmap Graphic - an image computed by the computer as rows of colored dots (AKA pixels)
Auto-Trace - a computerized function in a vector graphics program which traces bitmaps with vector shapes.
RGB - A type of color coding (other types are Grayscale, CMYK, and others but Outfab works only with RGB coding)

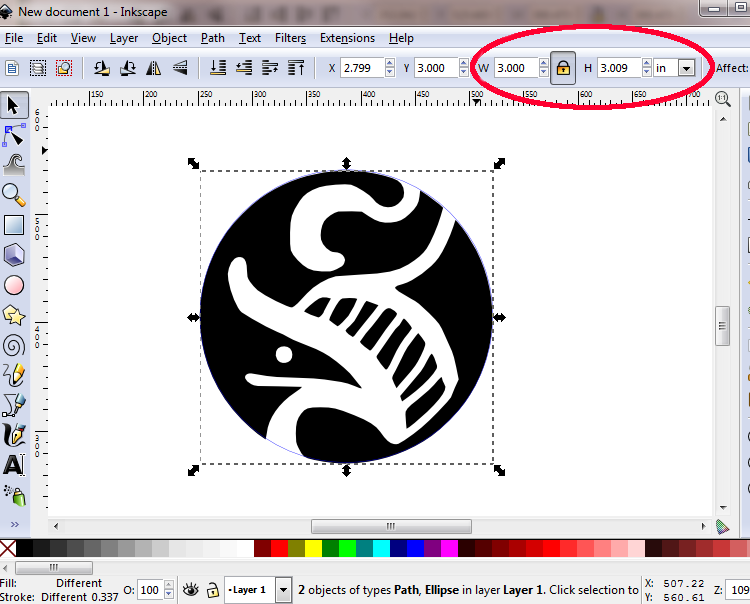
This medallion sample is from a customer who drew the image in Photoshop.
At first glance, it LOOKS like it follows the guidelines, but really it does not.
She also asked if it was possible to drill a hole on top to make it a pendant but this is not necessary as a hole can be drawn and laser cut.
You can see how the paint brush tool was used to draw the white areas onto a black circle, and a blue circle was created around the image to represent the cutting lines.
When we get an order like this there are several things which prevent it from working:
1. The graphic is a bitmap, the laser cutter can't read it at all.
2. The size is not specified
3. She can draw a hole on top to make a hole for a pendant, no drilling necessary.
Luckily, since it is a pretty simple design without too much fine detail, and the customer can convert it quite easily.
A VERY budget friendly vector program is Inkscape which can be downloaded free at inkscape.org
You can also use Illustrator, or CorelDraw with similar results.
1. Open inkscape and import your drawing. It's as easy as dragging and dropping onto the page.

2. Go to the menu "Path" ->"Trace Bitmap"
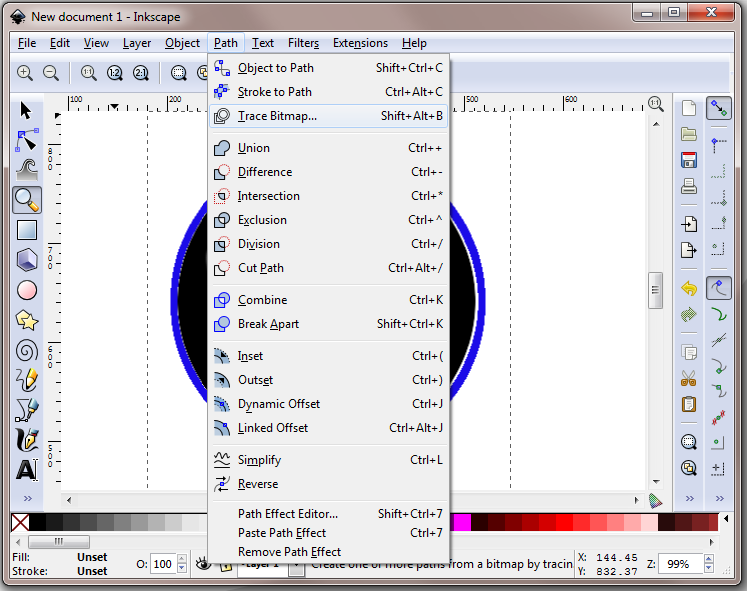
3. Trace Bitmap Options
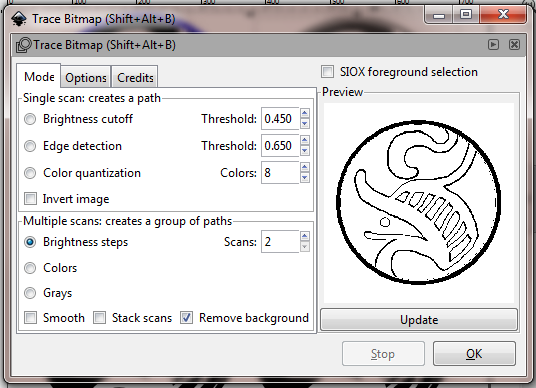
In this menu there are a bunch of options. Make sure your imported bitmap graphic is selected before you go to the trace bitmap menu. You will see a preview. After you chose your settings, click OK and an auto-traced vector will appear on top of your drawing. The "trace bitmap" window will show until you close it.
I made a few different versions using different settings to find the one that works best. It can take a bit of trial and error here. Auto-traces will appear directly on top of your bitmap graphic so you will have to move them off to see more clearly what they look like.
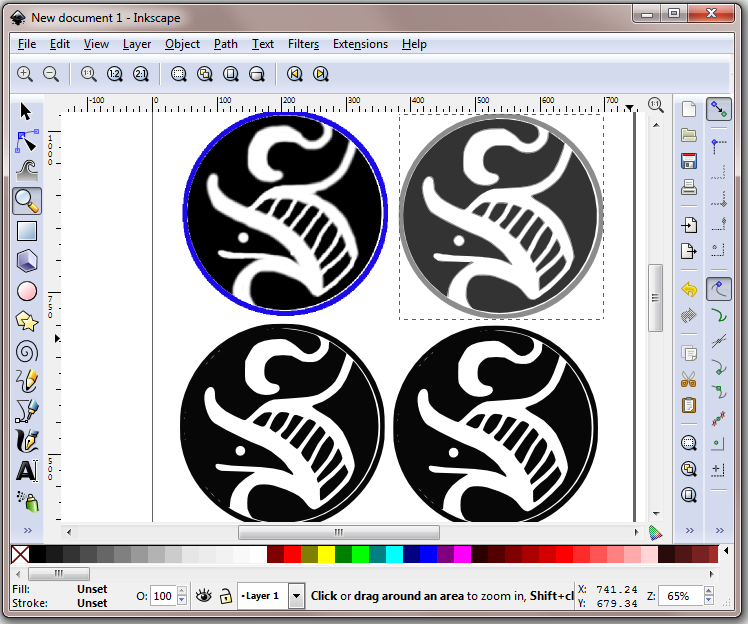
The top left is the original imported bitmap, the others are auto-traced. Since I don't want the blue outline to be part of the etched design, I'm going to use the version with two grays and tweak it to look how I want.

Select "ungroup" and delete the parts you don't want. You're left with this:
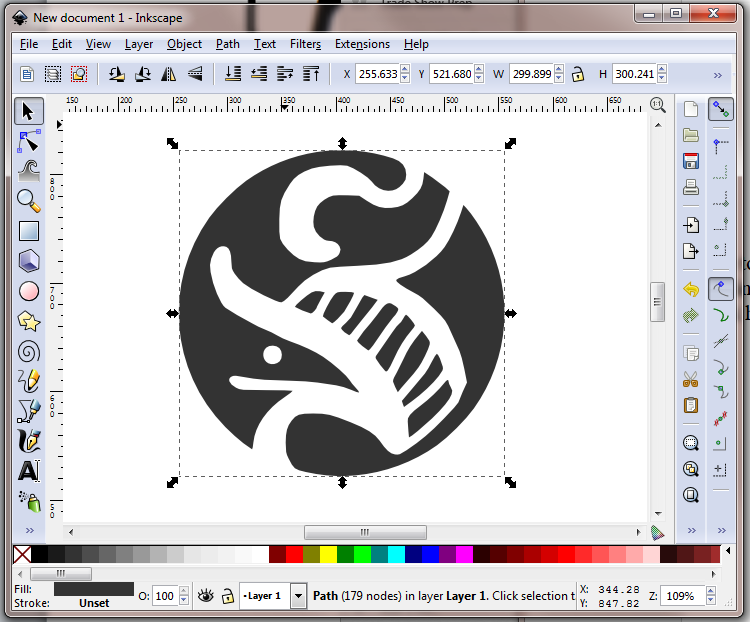
To reach the fill and stroke menu, go to main menu "Object" then the first one is "Fill and Stroke"
With the FILL subtab, make sure the fill color is RGB black (0,0,0).
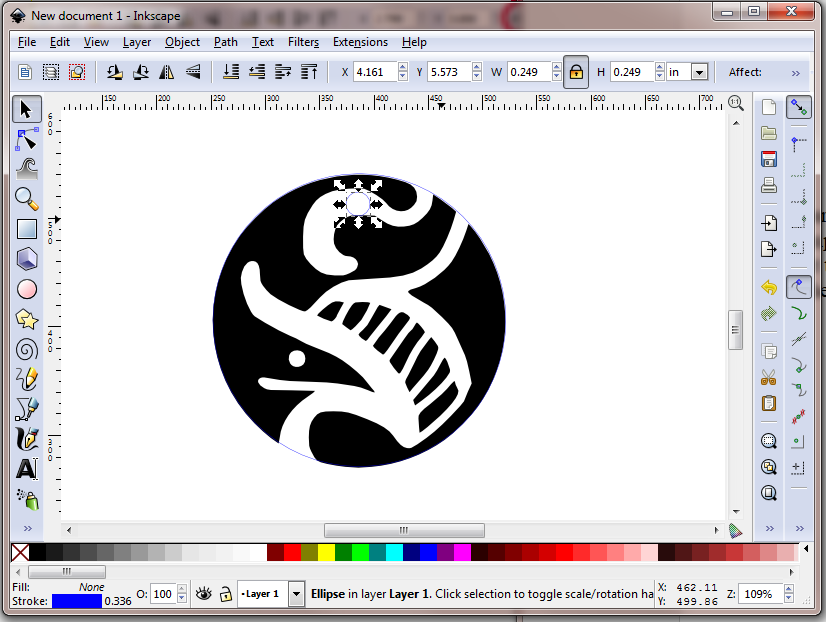
Then add a blue outline using the circle tool on the left tool-bar.
In the "STROKE STYLE" tab within the "Fill and Stroke" menu, you can edit the width and unit of measure for the width. Make sure it is .3PT or less.
The "X" box means no assigned color. You want the X selected for fill and RGB blue (0,0,255) selected for stroke. Stroke color options are in the "Stroke paint tab".

4. Scaling your artwork
This step is important to make sure the medallion is the size you want. W is for width, H is for height, X,Y are position on the page.
You can select the units on the drop box menu and make sure to click the padlock to keep from getting stretched out of proportion.
*CAREFUL* scaling can change the width of the outline. The cutting outline must be less than .3pt to be recognized as a cutting line.
5. Then you can add a hole if you want.
6. Lastly, depending on what material you want, tile the design to fit into that unit size.
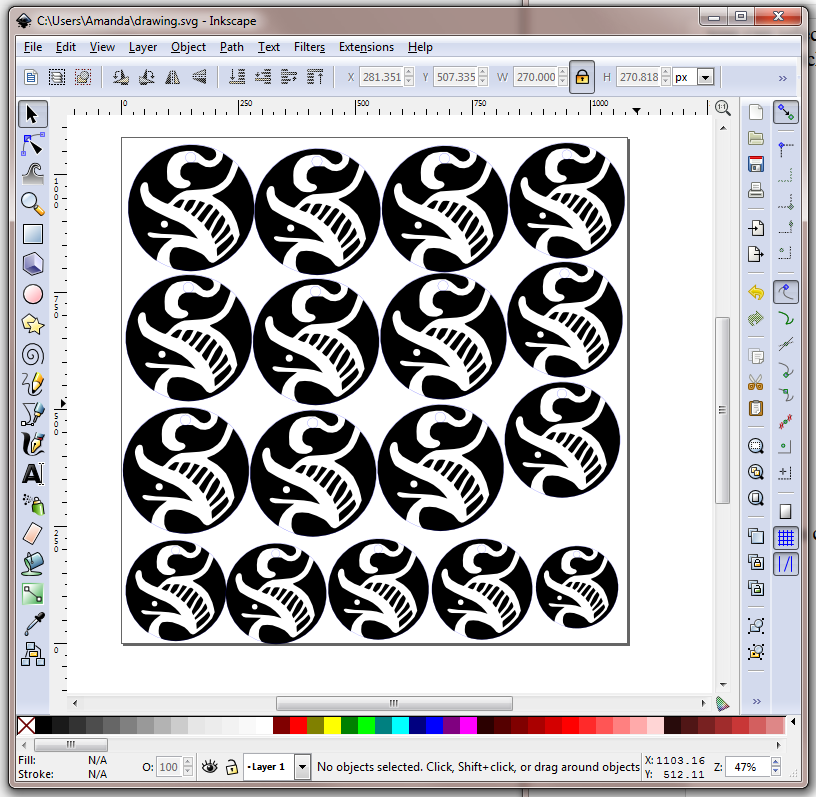
This order was made for one unit of black acrylic which is 12"x12" so the customer set her file up to 12"x12" (File>Document Properties), then she copied and pasted the design to fill the page, and then, since the medallion didn't quite fit 4 across and down, she made some smaller versions on the sides.
*CAREFUL*
You must be careful in inkscape to double check the line width of the strokes, sometimes when scaling an image, the line thickness can become too thick, and will not be recognized by the machine as a cutting file.
*CAREFUL*
Make sure when you copy designs that they do not overlap or go outside the page border. 3mm from the edge, 3mm from each other.
*CAREFUL*
When you save your file, SAVE AS A PDF. SVG files (native format of Inkscape) do not import into our software properly and cannot be read by the laser cutter.
Once you get the hang of these guidelines, you'll be coming up with so many ideas you won't know how to stop. Luckily you can put as many different designs in a unit size as you want to.

Here's the finished piece, laser cut out of black acrylic. The black filled area from the drawing has been etched to a frosty white and the remainder is left the original shiny black.
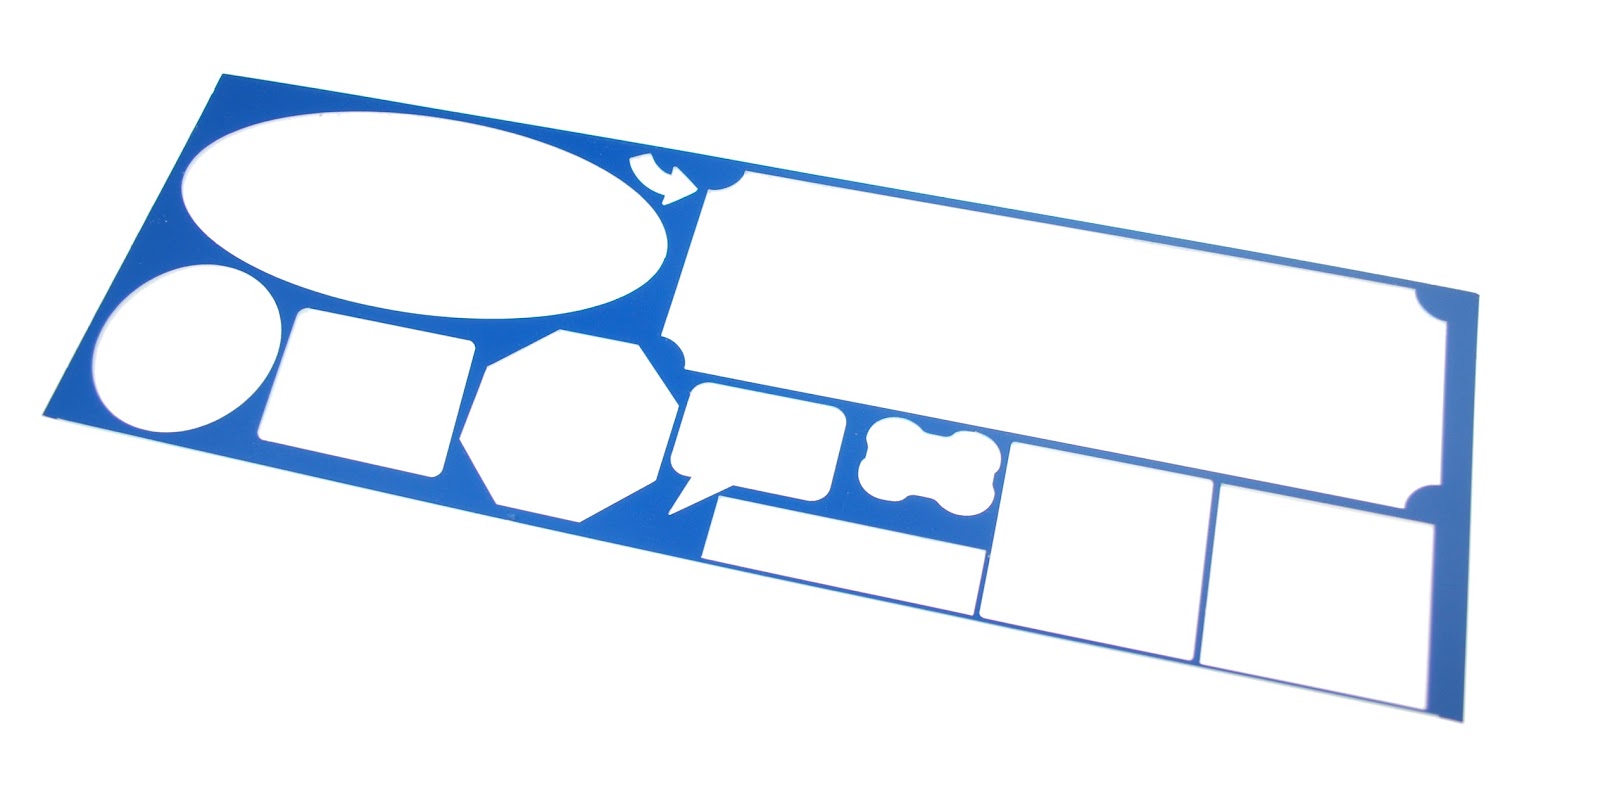
The below image is a scrap remainder from a job laser cut in blue acrylic. This visualization shows you can see the pieces are cut right out of the material like paper punch-outs, that is why we have the flat-rate per unit size pricing and you can put different designs on your page.
Stay tuned for more posts and let us know what you think!
service@outfab.com